Support · Fiscal POS

Ingenico Integration Setup

With the Ingenico fiscal POS integration in RoxPos, you can link collection, payment and receipt flows to your checks and manage them in a single operation.

Ingenico Integration Setup

Setup Steps

1. Prepare the Ingenico Device

  • Have your Ingenico device's connection and terminal/serial details ready.
  • Make sure the device is connected to your business's local network and up to date.
  • Contact the RoxPos support team to start the activation suitable for your device model.

2. Define It in the RoxPos Panel

  • In the admin panel, go to Settings > Integration > POS Integration.
  • Select Ingenico as the provider and enter the device/terminal details.
  • Save the definition; the device is assigned to the relevant branch.

3. Test and Go Live

  • Send a payment through a test check to verify communication with the device.
  • Check that the receipt/document printout and the collection record are reflected correctly in the panel.
  • If there is an issue, our support team provides remote guidance.

Why Use It?

Frequently Asked Questions

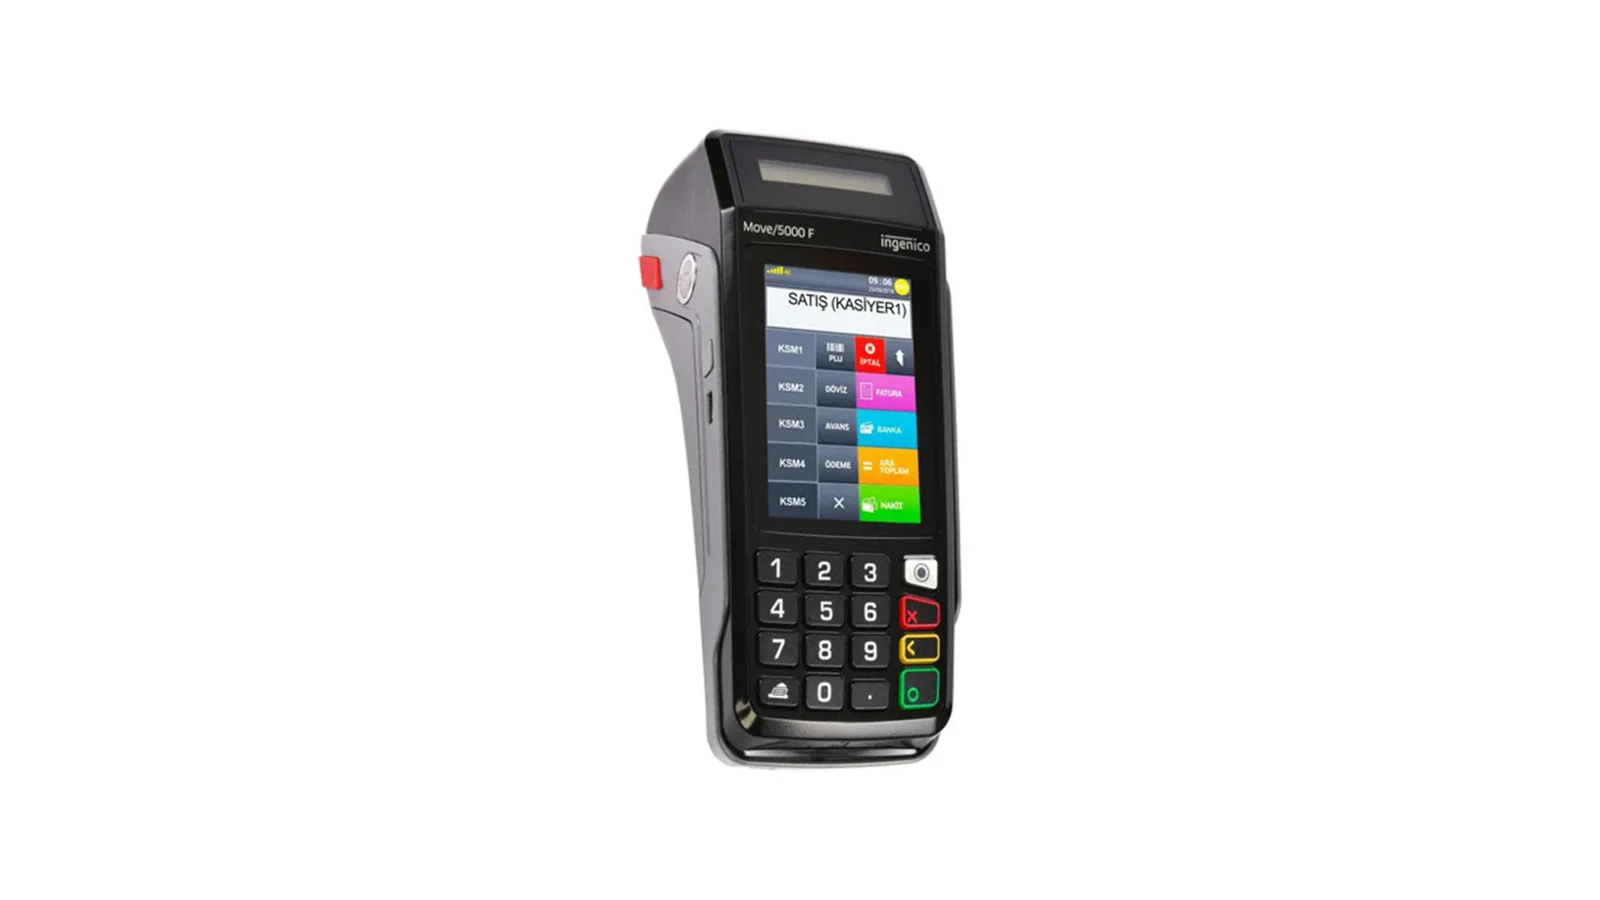
Is an additional device required for the Ingenico integration?

Your existing Ingenico device is enough. RoxPos runs in the cloud; the activation steps are completed together with our support team.

Are collections reflected in the reports?

Yes. Payment and collection records are reflected in the reports by channel; you see turnover and payment breakdown from a single panel.

Can I use it in multiple branches?

Yes. You can define a separate device for each branch, manage all branches from a single account and get comparative reports.