Support · Other

Cash Drawer Setup

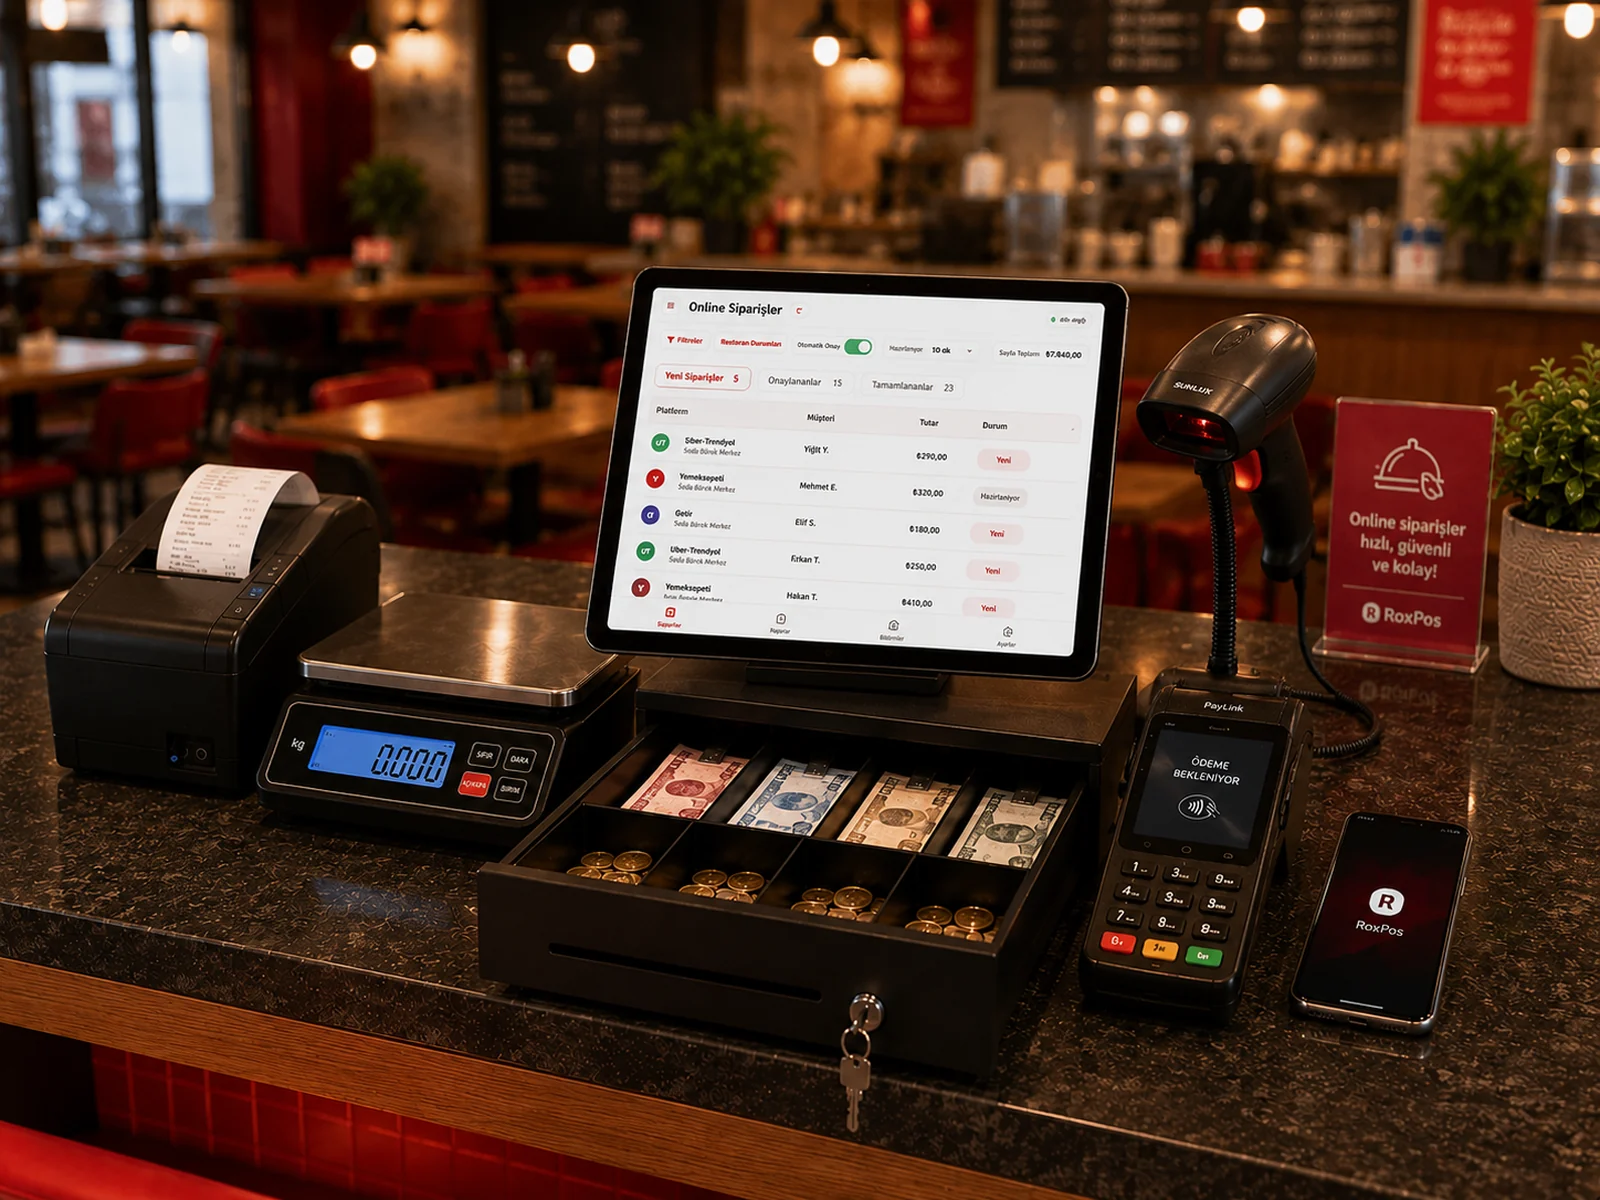
With the cash drawer integration, the drawer opens automatically when a cash payment is taken; cash register security and speed improve.

Cash Drawer Setup

Setup Steps

1. Connect the Drawer

  • Connect the drawer to the drawer (RJ11/kick-out) socket of your network receipt printer, or to a serial port on the counter PC where the Print Agent is installed.
  • The open command is sent by the Print Agent on the counter PC; make sure the agent is running.

2. Define It in the RoxPos Panel

  • Turn on the Cash drawer option under Settings > General Settings > Hardware and peripherals.
  • In Drawer port, enter the serial port name (for example COM1) or, if the drawer hangs off a network receipt printer, the printer's IP address with port 9100 (ip:9100).
  • Under "When should the drawer open?" pick one moment and save: when a cash payment is taken (default), when the payment screen opens via "Take Payment", when "Collect Payment" or "Send to POS" is pressed, or when Cash, Card or another payment type is selected.

3. Test

  • Try the drawer on the Settings > Device Connection Test screen, then check that it opens at the moment you chose (for example on a cash payment).

Why Use It?

Frequently Asked Questions

How is the cash drawer connected?

The drawer connects either to the drawer socket of a network receipt printer (ip:9100 in the panel) or to a serial port on the counter PC (for example COM1). The open command is sent by the Print Agent on the counter PC.

For which payment types does it open?

By default it opens when a cash payment is recorded, not for card payments or payments sent to the fiscal device. Under General Settings > Hardware and peripherals > "When should the drawer open?" you can instead choose when the payment screen opens, when a payment button is pressed, or when Cash, Card or another payment type is selected.